Basic Cold Process Soap Making Guide
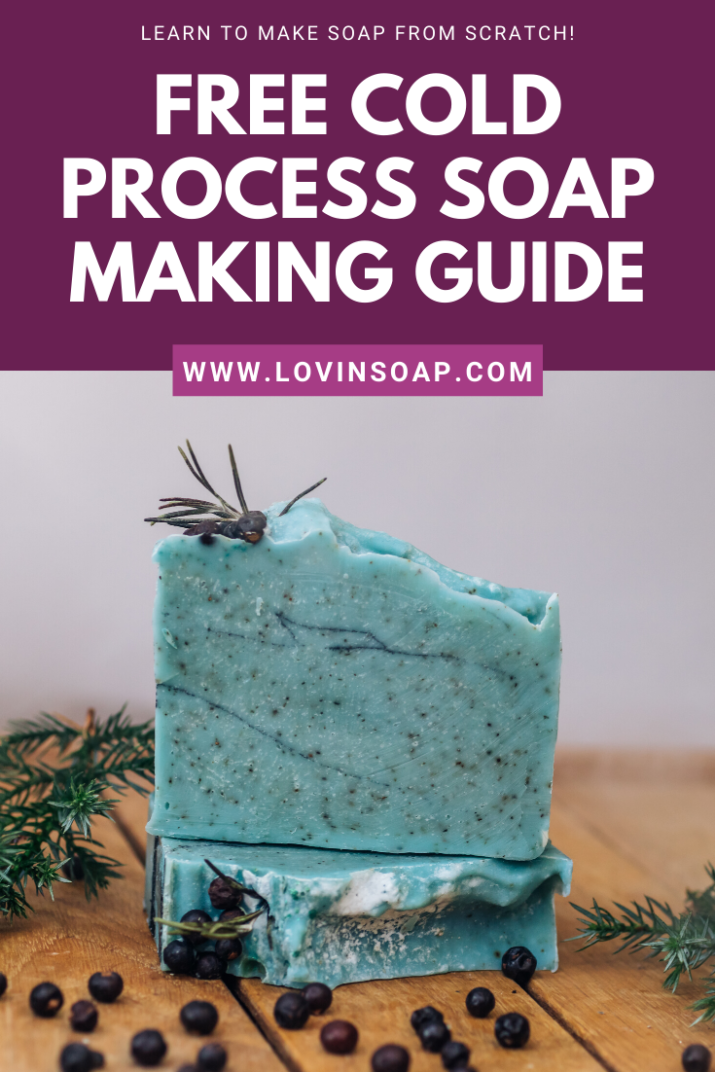
Basic Cold Process Soap Making Guide
[quads id=11]
If you’re looking for a fun and creative hobby to get into, soap making could be just the thing for you. Cold process soap making is a popular method that many hobbyists and artisans use to create their own unique and luxurious bars of soap. With a few simple ingredients and some basic equipment, you can start making your own soap right in your own kitchen.
To get started, you’ll need some essential ingredients and supplies. Here’s a basic list of what you’ll need:
– Lye (sodium hydroxide): This is a key ingredient in soap making as it is what causes the chemical reaction known as saponification, which turns the oils and fats into soap. Lye can be dangerous if not handled properly, so make sure to wear protective gear such as gloves and goggles when working with it.
– Oils and fats: You can use a variety of oils and fats in soap making, such as olive oil, coconut oil, shea butter, and more. Each oil has its own unique properties and benefits for the skin, so feel free to experiment with different combinations to find the perfect recipe for you.
– Water: This is used to dissolve the lye and mix it with the oils and fats. Make sure to use distilled water to prevent any impurities from affecting the soap.
– Essential oils and fragrance oils: These are optional ingredients that you can use to scent your soap. Essential oils are natural oils extracted from plants, while fragrance oils are synthetic. Both can add a lovely scent to your soap.
– Colorants: You can use natural ingredients like herbs, clays, and spices to color your soap, or you can use synthetic colorants specifically made for soap making.
– Mold: You’ll need a mold to pour your soap into and shape it as it sets. You can use silicone molds, wooden molds, or even household items like milk cartons or shoeboxes.
Once you have all your ingredients and supplies ready, it’s time to get started. Here’s a basic step-by-step guide to cold process soap making:
1. Measure out your oils and fats and heat them in a pot on the stovetop until they are melted. Allow them to cool to around 100-110°F.
2. In a separate container, carefully weigh out your lye. Slowly add it to the water (never the other way around) and stir until dissolved. Allow the lye solution to cool to around 100-110°F.
3. Once both the oils and lye solution are at the correct temperature, slowly pour the lye solution into the oils while stirring continuously.
4. Use a stick blender to mix the ingredients until they reach trace, which is when the mixture thickens and leaves a trail when you drizzle it back into the pot.
5. Add any colorants, essential oils, or fragrance oils at this stage and mix them in thoroughly.
6. Pour the soap mixture into your mold and tap it on the counter to remove any air bubbles.
7. Cover the mold with a lid or a piece of cardboard and insulate it by wrapping it in towels or blankets. Let the soap set for 24-48 hours.
8. Once the soap has set, unmold it and cut it into bars. Allow the bars to cure for 4-6 weeks before using them to allow the excess water to evaporate and the soap to harden.
And there you have it! Your very own handmade bars of cold process soap. Soap making can be a fun and rewarding hobby, so don’t be afraid to get creative and experiment with different ingredients and techniques. Happy soap making!