Baby Doll Quilt Tutorial
Baby Doll Quilt Tutorial
[quads id=11]
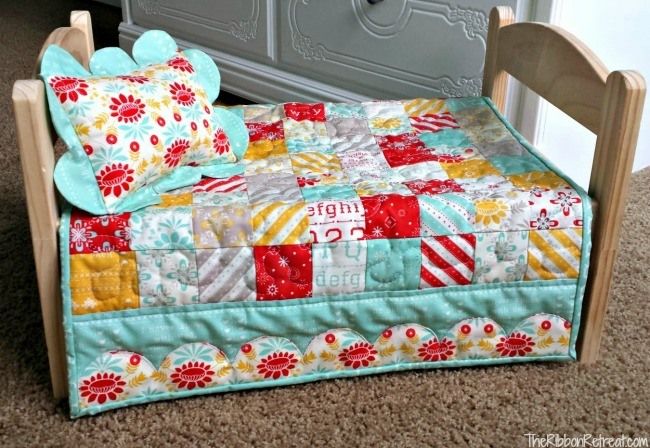
If you’re looking for a fun and adorable project to work on for a little one in your life, look no further than a baby doll quilt. These miniature quilts are perfect for dolls, stuffed animals, or even as a decorative piece for a nursery. In this tutorial, we’ll walk you through the steps to create your own baby doll quilt.
Materials Needed:
– Fabric scraps in various colors and patterns
– Batting (cotton or polyester)
– Backing fabric
– Thread
– Sewing machine
– Rotary cutter and cutting mat
– Ruler
– Iron and ironing board
– Pins
Step 1: Choosing and cutting your fabric
Start by selecting your fabric scraps. You can choose to use a coordinated color palette or mix and match different prints for a scrappy look. Cut your fabric into squares or rectangles, depending on the size of quilt you want to make. A common size for a baby doll quilt is around 18×24 inches.
Step 2: Piecing your quilt top
Arrange your fabric pieces in a pleasing pattern. Sew them together with a ¼ inch seam allowance, pressing the seams open as you go to reduce bulk. Continue adding pieces until your quilt top is the desired size.
Step 3: Adding batting and backing
Cut your batting and backing fabric to the same size as your quilt top. Layer the batting between the quilt top and backing fabric, making sure all edges are aligned. Pin the layers together to secure.
Step 4: Quilting
Now it’s time to quilt your baby doll quilt. You can either hand quilt or machine quilt, whichever method you prefer. Stitch in the ditch along the seams or add decorative quilting patterns to the top of the quilt.
Step 5: Binding
To finish your quilt, you’ll need to add a binding. Cut strips of fabric approximately 2.5 inches wide and enough to go around the entire quilt. Sew the strips together and press in half lengthwise. Attach the binding to the edges of the quilt using a ¼ inch seam allowance, mitering the corners for a clean finish.
Step 6: Finishing touches
Give your quilt a final press with an iron to smooth out any wrinkles. You can also add embellishments such as buttons, ribbon, or embroidery for a personal touch.
Now you have a beautiful baby doll quilt ready for playtime or display. These quilts make great gifts for new parents or a special little one in your life. Have fun creating your own mini masterpiece!