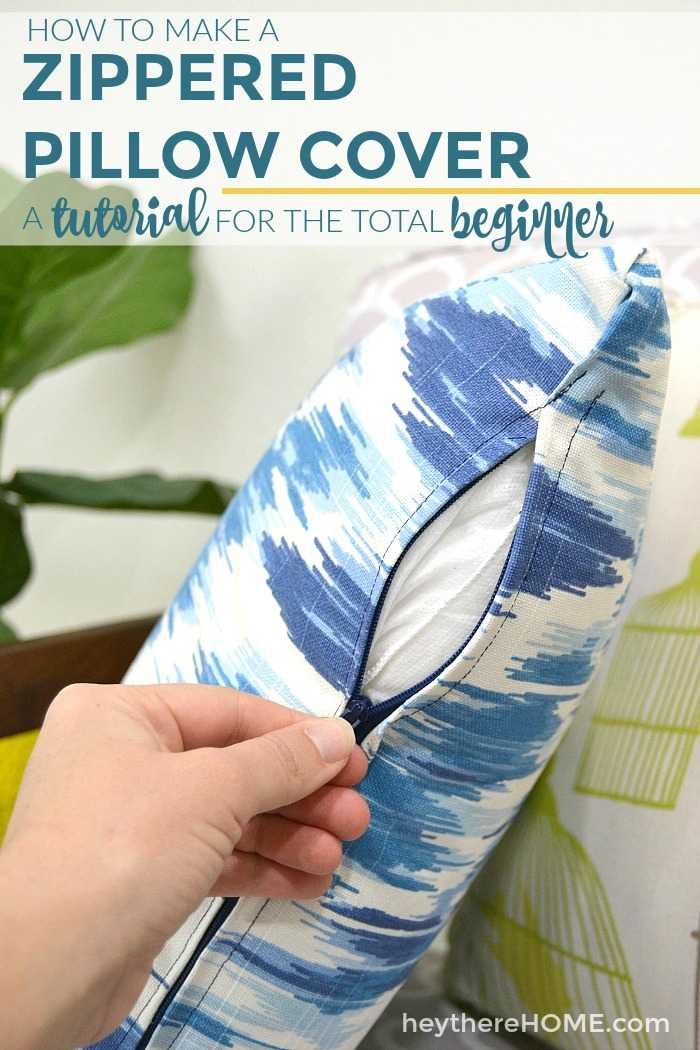
DIY Zippered Pillow Covers – Easy Beginner’s Tutorial
DIY Zippered Pillow Covers – Easy Beginner’s Tutorial
[quads id=11]
Looking to give your home decor a fresh update without breaking the bank? One simple and cost-effective way to do so is by making your own zippered pillow covers. Not only will DIY pillow covers save you money, but they also allow you to customize your space with fabric patterns and colors that suit your taste.
If you’re new to sewing, don’t worry – making zippered pillow covers is an easy beginner’s project that requires minimal sewing skills. With just a few materials and a sewing machine, you can create professional-looking pillow covers in no time.
To get started, here’s a step-by-step tutorial on how to make your own DIY zippered pillow covers:
Materials needed:
– Fabric of your choice (enough to cover your pillow insert)
– Pillow insert
– Zipper (make sure it is at least the same length as your pillow)
– Sewing machine
– Scissors
– Pins
– Thread
– Iron
Instructions:
1. Measure your pillow insert to determine the size of fabric needed. You will need to cut two pieces of fabric – one for the front and one for the back of the pillow cover. The fabric should be slightly larger than the pillow insert to allow for seam allowances.
2. Place the two pieces of fabric right sides together and pin along the edges. Sew around three sides of the fabric, leaving one side open for the zipper.
3. Press open the seams with an iron to create a clean edge.
4. Take your zipper and place it face down on the right side of the fabric, lining it up with the open edge of the fabric. Pin the zipper in place.
5. Using a zipper foot attachment on your sewing machine, sew along the edges of the zipper, attaching it to the fabric.
6. Once the zipper is attached, unzip it halfway to make it easier to turn the pillow cover right side out.
7. With the zipper partially open, fold the fabric so that the right sides are facing each other. Pin the remaining sides of the fabric together.
8. Sew along the remaining sides of the fabric, making sure to backstitch at the beginning and end to secure the seams.
9. Trim any excess fabric and threads, then turn the pillow cover right side out through the zipper opening.
10. Insert your pillow insert into the cover, zip it up, and fluff it to perfection.
And there you have it – a simple and stylish zippered pillow cover that you made yourself! With just a few easy steps, you can create custom pillow covers to refresh your home decor anytime you want. Get creative with fabric choices and patterns to match your style and make your space feel like new. So grab your sewing machine and start making your own DIY zippered pillow covers today!